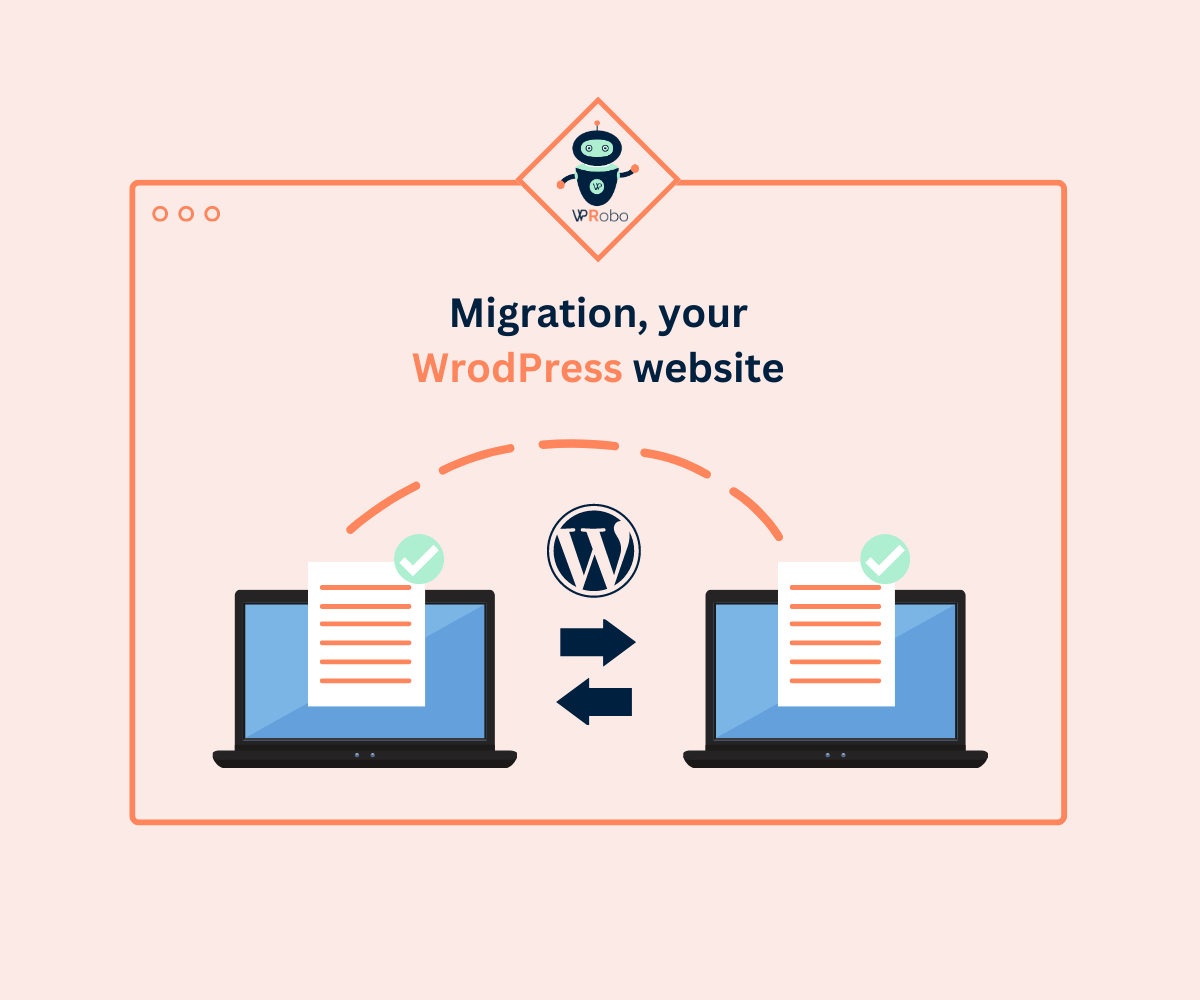
How to Plan and Migrate Your WordPress Migration
Migrating a WordPress website can be a daunting task, but with proper planning and execution, it can be a smooth process. Here is a detailed guide on how to plan and migrate your WordPress website:

Step 1: Plan Your Migration:
Before starting the migration process, it is essential to plan the migration carefully. You should consider the following factors:
Reason for Migration: What is the primary reason for the migration? Do you want to move to a new hosting provider or upgrade your website to a new version of WordPress?
Downtime: Determine the expected downtime and plan accordingly. Make sure to schedule the migration at a time when your website traffic is at its lowest.
Backup: Back up your WordPress website before starting the migration process. This step is critical in case anything goes wrong during the migration process.
Budget: Determine your budget for the migration process. Depending on the complexity of your website, the cost of migration can vary.
Step 2: Choose a New Hosting Provider:
If you are moving to a new hosting provider, research and select a new hosting provider that meets your requirements. Consider the following factors while choosing a new hosting provider.
- Ensure that the new hosting provider supports WordPress and has the necessary resources to handle your website’s traffic.
- Choose a server location that is closest to your target audience to reduce latency and improve website speed.
- Look for a hosting provider that provides reliable and fast website performance.
Step 3: Export Your Website Content:
Export all your website content and data from the old website using the WordPress Export tool or service. This includes your posts, pages, comments, custom fields, and other content. This process involves transferring your website’s files and database to the new hosting provider. When exporting your website content, consider the following factors:
File Size: If your website is large, consider splitting the export file into smaller chunks to avoid file size limitations.
Security: Make sure that the export file is secure and does not contain any sensitive information.
Step 4: Import Your Website Content:
After exporting your website content, import it into your new hosting provider. This process involves uploading the package to the new hosting provider and configuring the website’s database.
Step 5: Test Your Website:
After importing your website content, it is crucial to test your website to ensure that everything is working correctly. Check all the links, images, and functionality of your website. Consider the following factors when testing your website.
Functionality: Test all the website’s functionality, such as contact forms, email notifications, and e-commerce transactions.
Performance: Test the website’s loading speed and ensure that it meets your website’s performance requirements.
Step 6: Change Your DNS Settings:
Once you have tested your website and ensured that everything is working correctly, it’s time to change your DNS settings to point to the new hosting provider. This process can take up to 24 hours to propagate worldwide. When changing your DNS settings, consider the following factors:

Timeframe: It may take up to 24 hours for the DNS changes to propagate worldwide, so plan accordingly.
Backup: Make sure to back up your DNS settings before making any changes to avoid any service disruption.
Step 7: Update Your Website Configuration:
Update your website configuration to ensure that it works correctly on the new hosting provider. Update any URLs or configuration settings that may have changed during the migration process. When updating your website configuration, consider the following factors:
URLs: Update any URLs that may have changed during the migration process to ensure that all links point to the correct pages.
Configuration Settings: Update any configuration settings that may have changed during the migration process, such as database credentials or file paths.
Step 8: Disable Your Old Website:
Once you have updated your website configuration and verified that your website is working correctly, disable your old website. This step ensures that any visitors to your old website are redirected to your new website. When disabling your old website, consider the following factors:
Timing: Disable your old website only after you have confirmed that the new website is working correctly to avoid any service disruption.
Redirects: Set up 301 redirects to ensure that all the old URLs are redirected to the new ones to maintain your website’s search engine rankings.
Step 9: Monitor Your Website After Migration:
Once your migration is complete, continue to monitor your website for any issues. Check your website’s analytics to ensure that your traffic is not affected and that your website’s performance is optimal.
Additionally, monitor your website’s security to ensure that it is not vulnerable to any security threats. Regularly update your WordPress version, theme, and plugins to the latest version to avoid any security issues.
Step 10: Seek Professional Help if needed:
If you’re not comfortable performing the migration yourself, consider seeking the help from a professional. At WPRobo, we specialize in hassle-free website migrations, taking the burden off your shoulders and ensuring a seamless transfer process. We also offer 31-days bug free warranty.
Our service can ensure that your migration is done correctly and that your website is up and running in no time. We can also help you with any issues that may arise during the migration process. So, post your project today, if you are stuck in the migration process. Our team of experts has years of experience in WordPress migration and can handle complex migrations with ease. We offer a comprehensive range of services, including WordPress migration, WordPress Plugin Development and Customization, WordPress speed optimization, WooCommerce customizations and APIs integrations (Integration of WordPress or WooCommerce with 3rd Party services).
Conclusion:
In conclusion, planning and executing a WordPress migration can be a complex process. It requires careful planning, preparation, and execution to ensure that everything runs smoothly. By following the steps outlined in this guide, you can ensure that your migration is successful and that your website continues to operate at optimal levels.
Choose WPRobo as your trusted partner in WordPress migration and experience a stress-free and smooth transfer process. Contact us today to learn more about our services and how we can help you with your website migration needs.